
Ever find yourself scrolling through stock photo sites, only to come up empty? We’ve been there, too.
AI image generators (algorithms that turn text into images) let you whip up fresh visuals in seconds. And you don’t need a design degree.
In this guide, we’ll walk you through five simple steps:
- Pick the right platform.
- Craft a prompt that pops.
- Tweak style and orientation for your needs.
- Run your first batch of images.
- Refine your results until they’re pixel-perfect.
By the end, you’ll be creating custom images that nail your brand’s vibe faster than waiting days for a photographer’s reply.
Nice.
Step-by-Step Guide to Using an AI Image Generator
Ever wanted to whip up custom visuals in seconds? With an AI image generator (an algorithm that turns text into pictures), you can do just that, no art degree needed. We’ll team up to find a tool that fits how you work and get you generating images fast.
First, pick your platform. Narrato’s AI tool offers a prompt field (where you type your idea), style presets, and orientation controls. You can also try dall-e ai image generator or browse this roundup of the best AI image generators. Most of these let you test-drive for free so you can see what clicks.
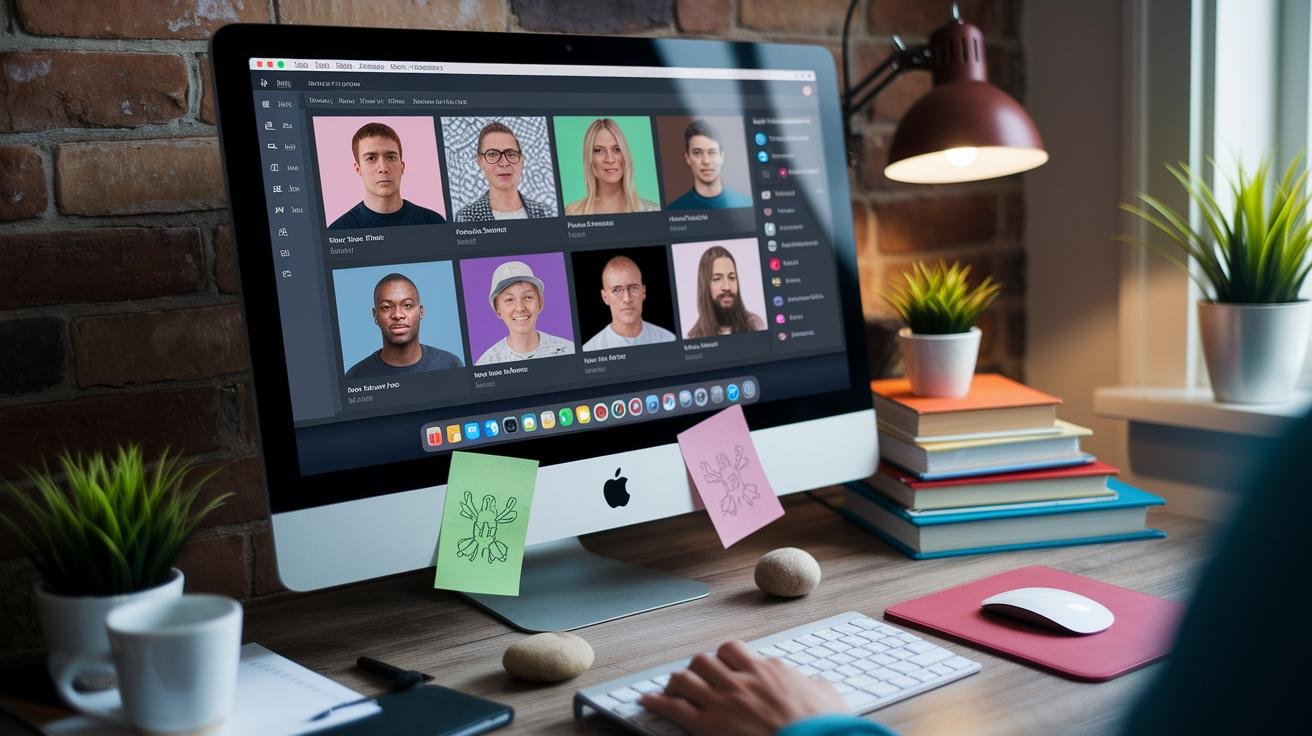
Once you’re set up, type a clear prompt (a text description you enter). For example, “a golden retriever puppy playing in a field of sunflowers, golden hour lighting, film photography style.” Then pick landscape or square orientation, hit generate, and watch the previews pop up in under 30 seconds. Nice.
Here’s our quick game plan.
- Pick your AI platform
- Write a vivid prompt
- Select style and orientation
- Generate your first batch
- Scan the previews and tweak your words
- Download or drop the final image into your project
Think of each run as a sketch you refine. Small tweaks, like swapping “golden hour” for “morning mist” or switching “film style” to “watercolor”, can flip the mood entirely. We usually nail it by the third pass.
Results matter. And with these rapid loops, you’ll lock in the perfect angle, lighting, and vibe before your coffee gets cold.
Choosing the Right AI Image Generator Platform
Choosing the right artificial intelligence (AI) image generator sets how quickly you’ll see sharp, on-brand visuals. If you want to experiment without spending upfront, we recommend free options like Craiyon, DeepAI, and Canva. They let you play around day to day, but you might hit daily limits, deal with watermarks, and find fewer art styles, which can slow your workflow.
With paid services like Typeface, we get a 30-day trial that includes unlimited creations, high-res downloads, and full commercial rights (permission to use images in your work). We also get faster processing, built-in editing tools, and API keys (codes that let your apps talk to their service) for bulk image generation.
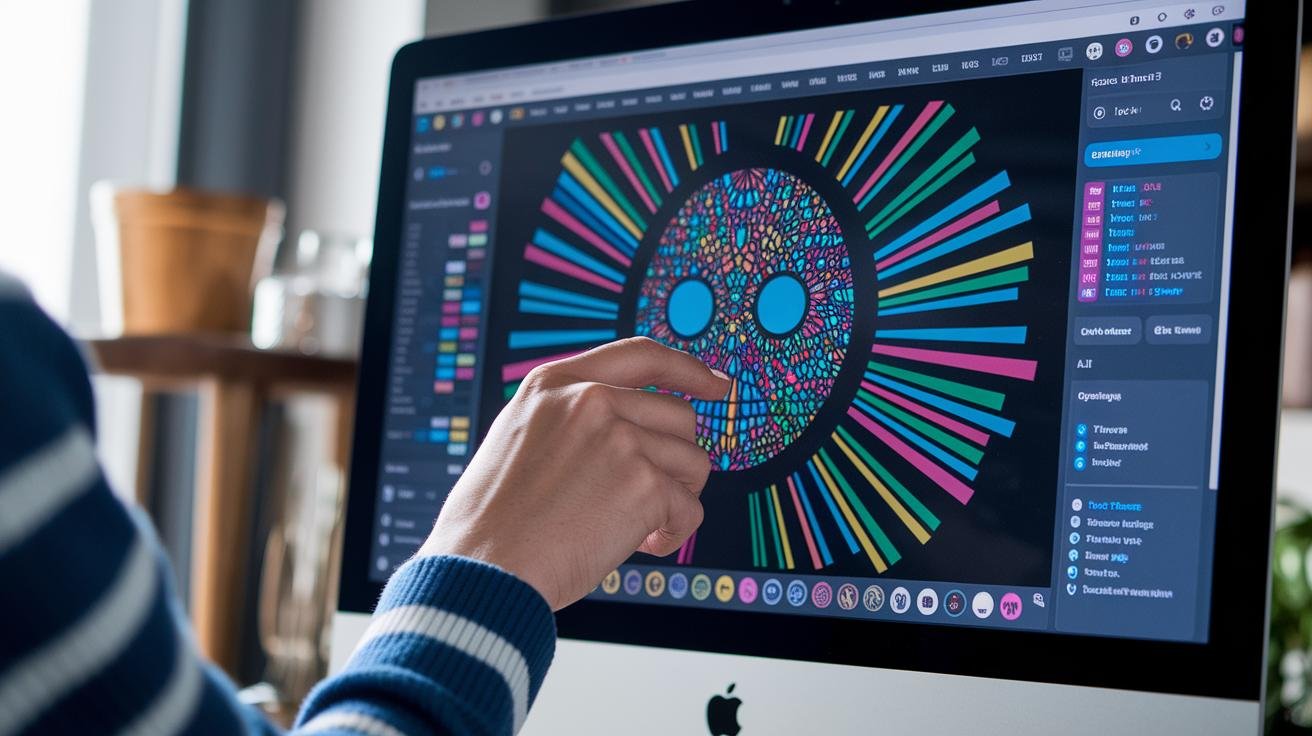
Style libraries matter too. Some tools only cover simple scenes while others offer pro presets for photorealism or abstract art.
Plugins for Figma or WordPress help you skip manual uploads. Removing watermarks keeps your ads clean.
Before you commit, think about your needs. How often will you need fresh images and what sizes will you export? You should also decide how much in-app editing your team prefers.
Usage limits vary a lot. Free plans might cap you at a few creations each day or month, while paid tiers crank out hundreds of images daily. Licensing terms can differ too, so double-check your commercial rights to avoid legal hiccups.
Integration options range from one-click downloads to built-in hooks that link directly with your CMS or design suite. Nice. Then we’ll know we picked the right tool when it just works for your workflow.
- Image quality and resolution limits
- Licensing and commercial usage rights
- API access and integration capabilities
- Cost structure (free tier vs paid plans)
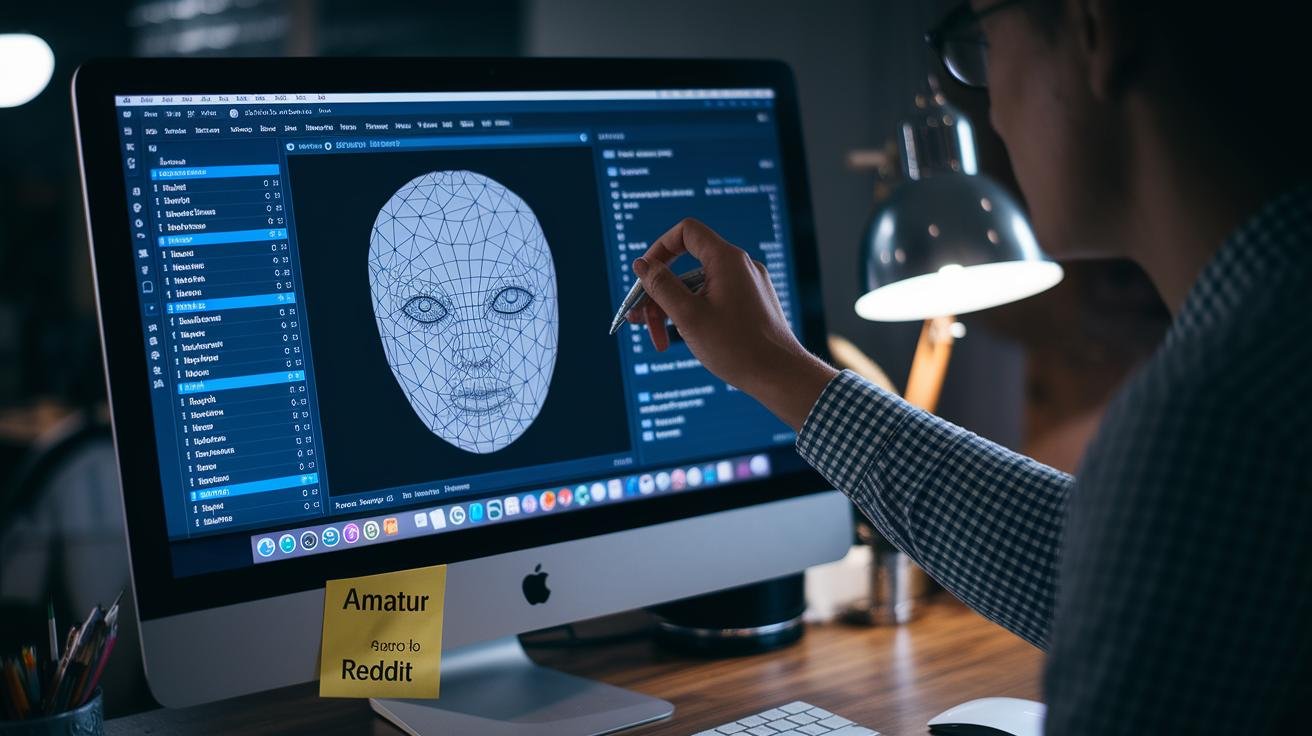
Navigating the AI Image Generator Interface
The AI Image Generator (artificial intelligence that turns text into images) feels like magic, you know? But a few simple controls can help you dial in exactly what you need.
- Resolution slider: bump up the pixels so your art stays sharp. Slide to 2048×2048 for print-ready images.
- Regenerate button: want a fresh take without retyping your prompt? Hit regenerate to spin out new versions of “cozy coffee shop at dawn.”
- Embed code: copy the HTML snippet and drop it straight into your site. For example:
<img src="AIoutput.jpg" alt="cozy coffee shop">
Now you’ve got the basics. Time to get creative and let the generator do its thing. Enjoy!
Crafting Effective Prompts for AI Image Generation
Detailed prompts guide the AI (artificial intelligence) more precisely and keep it from guessing. You’ll see more realistic, on-point images when you describe the subject, environment, lighting, mood, color palette, and any style cues. You know, even changing “afternoon sun” to “morning mist” can flip the vibe. Small tweaks, big impact.
Best Practices for Prompt Writing
Start with your main subject, then layer on setting, mood, and style. For example, say “a red vintage bicycle in a cobblestone alley” to nail the scene.
Next, add mood and light, like “at golden hour, soft shadows.” Toss in style notes such as “film grain, shallow depth of field.” If you want pro-level depth, mention camera details, “shot from a low angle with a wide aperture.”
Keep it tight – aim for one or two sentences so the AI doesn’t get lost. Use commas to stack each detail. That way the AI parses every bit. For example: “an ancient oak tree, misty forest floor, backlit by sunrise, cinematic mood, high contrast, digital painting style.”
Sample Prompts for Different Styles
- Photorealism: “A sleek black motorcycle parked on a rain-soaked street, neon signs reflecting off wet pavement, shot at dusk with shallow depth of field.”
- Watercolor: “A blooming cherry blossom branch arching over a quiet pond, pastel tones, soft brush strokes, gentle sunlight filtering through petals.”
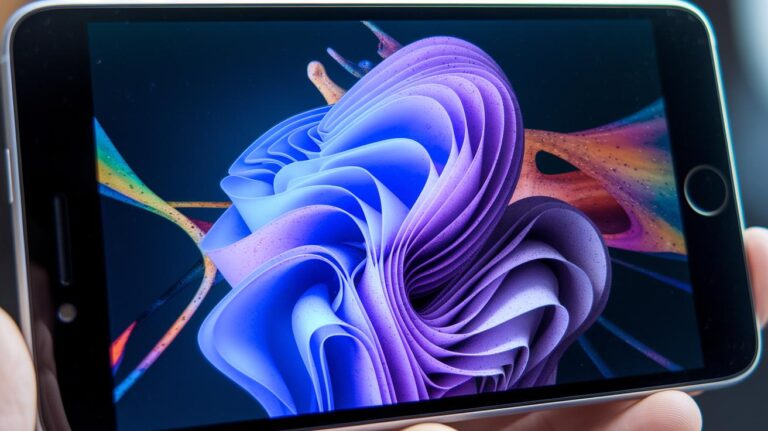
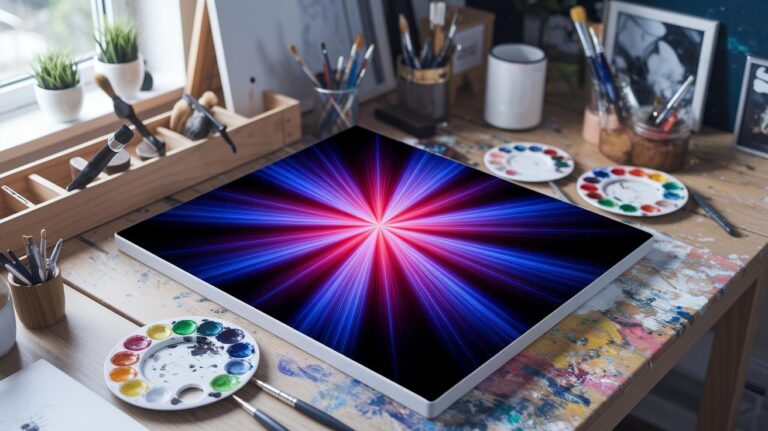
- Abstract Art: “A swirl of glowing geometric shapes in vivid teal and magenta, floating in dark space, high contrast, fractal-inspired composition.”
Adjusting Parameters and Styles for Desired Results
You decide how your images turn out. An AI image generator (a tool that creates pictures from text prompts) usually offers five main settings. They are style intensity (how strong the artistic effect appears), orientation (landscape, portrait, or square), resolution (pixel detail), aspect ratio (width-to-height mix), and sampling method (how the AI fine-tunes each pixel).
Most runs finish in 5–30 seconds. Choosing higher resolution or more sampling slows things down but gives you sharper, more detailed art.
If the image still looks too small, try the built-in upscaler (an image enlarger) or an external tool. They boost size without muddying those crisp edges.
| Parameter | Effect | Recommendation |
|---|---|---|
| Style Intensity | How bold the style looks | Start at 50% and tweak by 10% until it feels right |
| Orientation | Shape of your image | Square for social posts, landscape for blogs, portrait for stories |
| Resolution | Sharpness from pixel count | At least 1024×1024 for web; 2048×2048 if you plan to print |
| Aspect Ratio | Frame composition | Pick 16:9 for videos, 1:1 for Instagram, or match your canvas |
Next, let’s test how these knobs work together. Maybe crank up style intensity while lowering resolution for a quick, painterly sketch. Or lock the aspect ratio and boost sampling for a silky-smooth finish. Small experiments like this point you to the perfect balance of speed and detail.
Reviewing, Refining, and Exporting AI-Generated Images
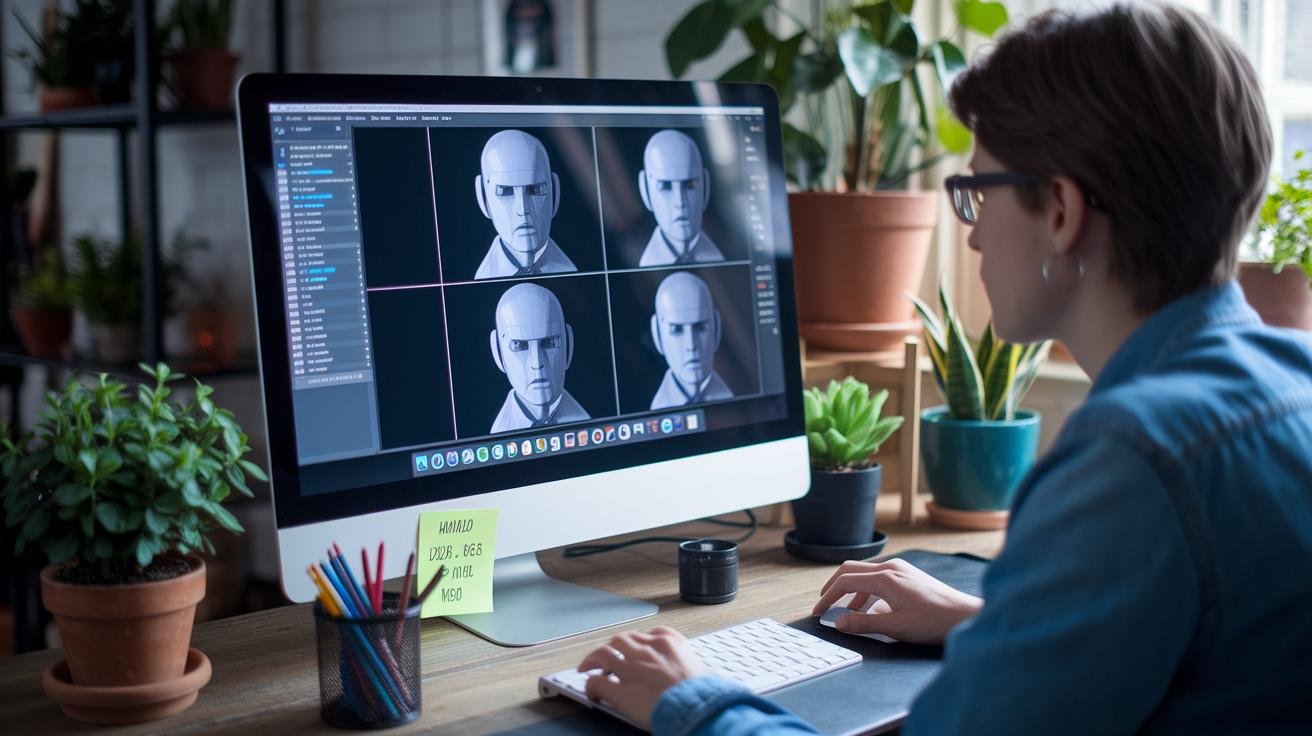
Your first batch of images just landed, nice. Give each one a quick glance, you know, then flag the ones you don’t need and move the keepers into a review folder.
Next, hit refresh or regenerate on anything that feels meh. This batch-processing trick (handling many files at once) lets you compare dozens of versions in minutes.
Swap a prompt like “morning mist” for “golden hour” or crank up the style intensity for a fresh vibe. Little tweaks, big payoff.
When it’s time to export, pick the resolution you need, maybe web-friendly 1024×1024 or print-ready 300 DPI (dots per inch).
Then grab your image as a PNG or JPG, or drop it right into your content builder. Want a larger file? Follow an upscaling tutorial (boost pixels without artifacting) using built-in or external tools.

⚡ GET THE AI EDGE
Weekly AI tips that actually save you time and money. No fluff, no hype — just what works.
If the framing feels off or the colors are flat, open your image in GIMP (free image editor), Canva, Fotor, or Photoshop. You can crop, tweak colors, add filters, overlays, or text.
And don’t overlook auto-edit features for smart lighting, shadow adjustments, or lens effects, they help you polish faster and stay on schedule.
Integrating AI-Generated Images into Your Projects
You’ve got polished visuals from your AI generator (an algorithm that turns text into pictures). Now let’s plug them into your workflow to boost your site and campaigns.
Website and CMS Integration
First, we’ll get your images online. You can upload them with FTP (file transfer protocol) using FileZilla or your host’s file manager. Then link them with HTML or add them to WordPress’s media library using a one-click plugin.
These plugins can pull your AI-generated images directly, so you skip manual uploads. You’ll spot new visuals in your posts or pages right away. And with lazy-load (loads images only as you scroll), your site feels faster.
Design Software Plugins and APIs
Next, we’ll bring images into your design apps. In Photoshop, search for your AI platform’s plugin and install it. Then your new graphics drop right into the canvas.
Figma users can pull AI art without leaving the board. And some tools even send fresh visuals to Slack channels or Shopify stores via API calls (application programming interface, a way for software to talk). Your team sees new images the moment they land.
Batch Processing for Marketing
Need hundreds of product shots or ad images? We’ve got you covered. Hit the batch API endpoint to generate bulk images in one go. You can script it in Python or use Zapier, a no-code workflow tool.
Just feed it a CSV (comma-separated values) file and watch your images flow into folders or server paths. Then they’re ready for email blasts, social posts, or ad platforms.
Troubleshooting, Best Practices, and Ethical Guidelines for AI Image Generation
Common Errors and Solutions
Ever get an image that looks fuzzy or just not on brand? Usually that means your prompt is too vague or your resolution is low (resolution is the pixel detail that makes images sharp). Or the style might be way off. Let’s fix that.
First, make your prompt specific. Instead of “a dog,” try “a golden retriever puppy playing in a sunlit park.” You’ll help the AI know exactly what to draw.
Next, if your images look pixelated, bump up the resolution setting or use a built-in upscaler (it’s like zooming in without losing detail).
And if you asked for a watercolor vibe but got a photo-realistic look, dial back the style intensity or pick a preset closer to what you want.
Hit a rate limit or missing features? We’ve been there. Think about upgrading your plan or trying another platform with higher daily caps.
Still getting weird results? Tweak one thing at a time, lighting, camera angle, or color palette, just like adjusting a lamp, a tripod, or a filter in a photo shoot. Small changes help you zero in on your perfect image.
Legal & Ethical Considerations
Before you generate any images for business, always check the privacy policy and licensing terms. AI models (algorithms trained on tons of images) can accidentally use copyrighted work. To avoid trouble, pick a service that grants full commercial rights or upload your own brand assets.
Keep an eye out for bias in the training data, stereotypes can slip into your art. Blend AI outputs with your original photos or illustrations to keep your brand’s own voice shining through.
Never skip a human review. Scan for glitches, odd content, or anything that might raise red flags.
These simple steps help us stay compliant and keep your audience feeling confident in every visual.
Final Words
We jumped right into setting up your first project, picking the right platform, and navigating the interface.
Then we covered crafting detailed prompts, adjusting key parameters, and refining outputs before export.
You’ll also know how to integrate images into your site and troubleshoot common issues.
By following these steps for how to use an AI image generator, you can speed up image creation and boost your content’s impact.
Here’s to turning your ideas into eye-catching visuals with confidence and ease.
FAQ
How do I use AI to generate images?
How do I generate images from text with AI?
How do I properly use an AI art generator?
How can I use a free AI image generator?
How do I use an AI image generator online?
How do I use an AI image generator on iPhone?
How do I use Google’s AI image generator?
What is the best AI image generator?
📥 FREE: THE AI PLAYBOOK
The exact tools and workflows I use to run a one-person agency. 25 years of marketing experience distilled into an actionable guide. Yours free.